top of page
-
Tough durable barrier
-
Prevents water damage
to foundation -
Locks out moisture,
mold and mildew


Air-gap Barrier &
Drainage Membrane


Step 1
Description
Lock out moisture, mold and mildew. Lock in comfort and peace of mind with
HYDRO-GUARD Drainage Membrane.
It's a tough barrier, made from durable recycled plastics, that wraps even cracked and weeping concrete walls so that water just can't seep into the home.
-
Directs water into weeping tiles
-
Unaffected by cracking due to frost or settlement - forms a protective layer independent of the structure
-
Complete installation can be carried out in
1 day or less -
Outlasts conventional damp proofing materials
-
E.P.A. rated 300 years

Step 2
Application
-
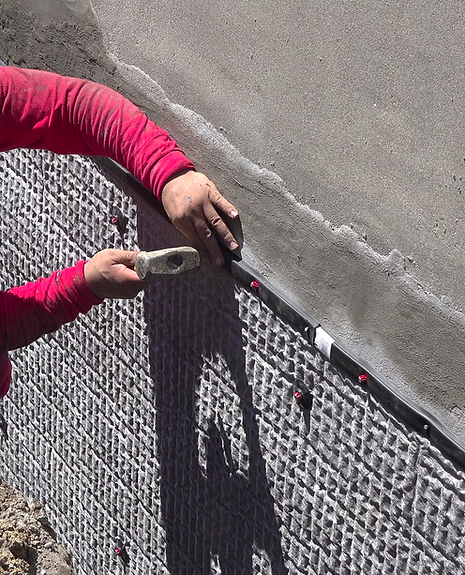
After applying final coat of HYDRO GUARD rubber membrane, unroll and smooth out Drainage Barrier along the wall with the dimples touching the wall and flat tab on top.
-
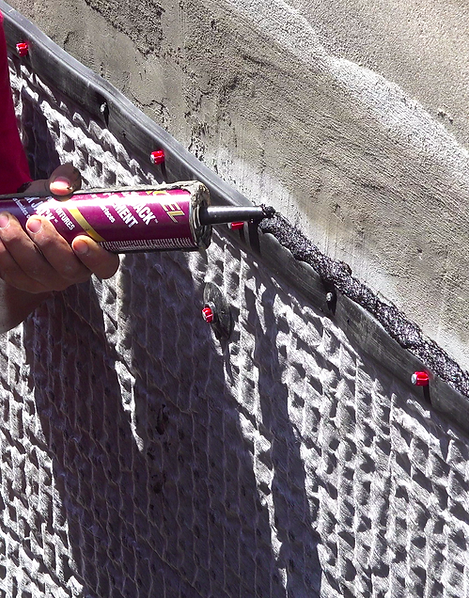
Be sure to line up flat tab just below the grade line and leave enough membrane to wrap along the footing. Fasten to wall using concrete nails and plastic washers, 6 inches apart each washer.
-
Continue to apply plastic washers and concrete nails along the body of the Drainage Membrane in criss-cross pattern. Washers should be 24 inches apart horizontally.
-
For corners: wrap tightly around corner and apply washer 6 inches away from corner.
-
For windows: Cut membrane to the shape of the opening leaving 4 inches away from opening on all sides.
-
-
Once washers are installed, apply finishing strip with nails to the top and ends of the membrane.
-
For joining two ends together: Overlap one end over the other end at least 6" and apply concrete nails and washers down the seam, 8 inches apart.
-
Superior Water Protection
-
Control of mold, mildew fungus and musty odors
-
Elimination of unhealthy spores and gases
-
Relief from allergies
-
Prevention of water damage to wood, brick and concrete
-
Increased property value and added "sale-ability"
-
Reduced heating and dehumidifying cost
Warmth instead of cold damp wintry rooms
Comfort instead of sultry summer time humidity

Step 3

Step 4
Limitations
-
When installing with clay soil, be sure to use an extra row fasteners to help support the Drainage Membrane against extra pressure that the clay soil will exert.
-
Hydro Guard Drainage Barrier is not meant to be used for standalone crack repairs. The product is meant to be used in part of the HYDRO GUARD system to maximize on crack repair and waterproofing.
Colour.............................................................
Materials.......................................................
Dimple Height.........................................
Compressive Strength......................
Vapour Permeance..............................
Temperature Range............................
Chemical Properties...........................
Toxicity...........................................................
Weight per Unit Area.........................
Service Life Expectancy...................
Black (Exterior)/Grey (Interior)
High Density Polyethylene
8mm
6000 lbs/ft2 (300 kn)
< 4 grams/m2/day
-25 degrees C to 70 degrees C
Superior ESCR
Non-toxic
650 grams/m2
2 degree C minimum
Greater than 50 years
Physical Properties
bottom of page

